Most small-to-medium mats can be removed at home without scissors if you use the right technique and take your time. This guide covers exactly how to remove mats from dog fur without cutting, starting with the tools you need and walking through each step of the process. Fair warning upfront: this works for loose-to-moderate mats. If your dog’s coat feels like a solid sheet of compressed fur, that is a different situation, and I will cover that too.
Disclosure: This article contains affiliate links. If you purchase through these links, we may earn a small commission at no extra cost to you. As an Amazon Associate, we earn from qualifying purchases.
Why Dog Fur Mats Form — and Why Fighting Them Wrong Makes It Worse
Mats form when shed hair tangles with live hair instead of falling out. Moisture, friction, and movement tighten the tangle over time. The most common spots: behind the ears, armpits, groin, collar line, and tail base — all high-friction areas.
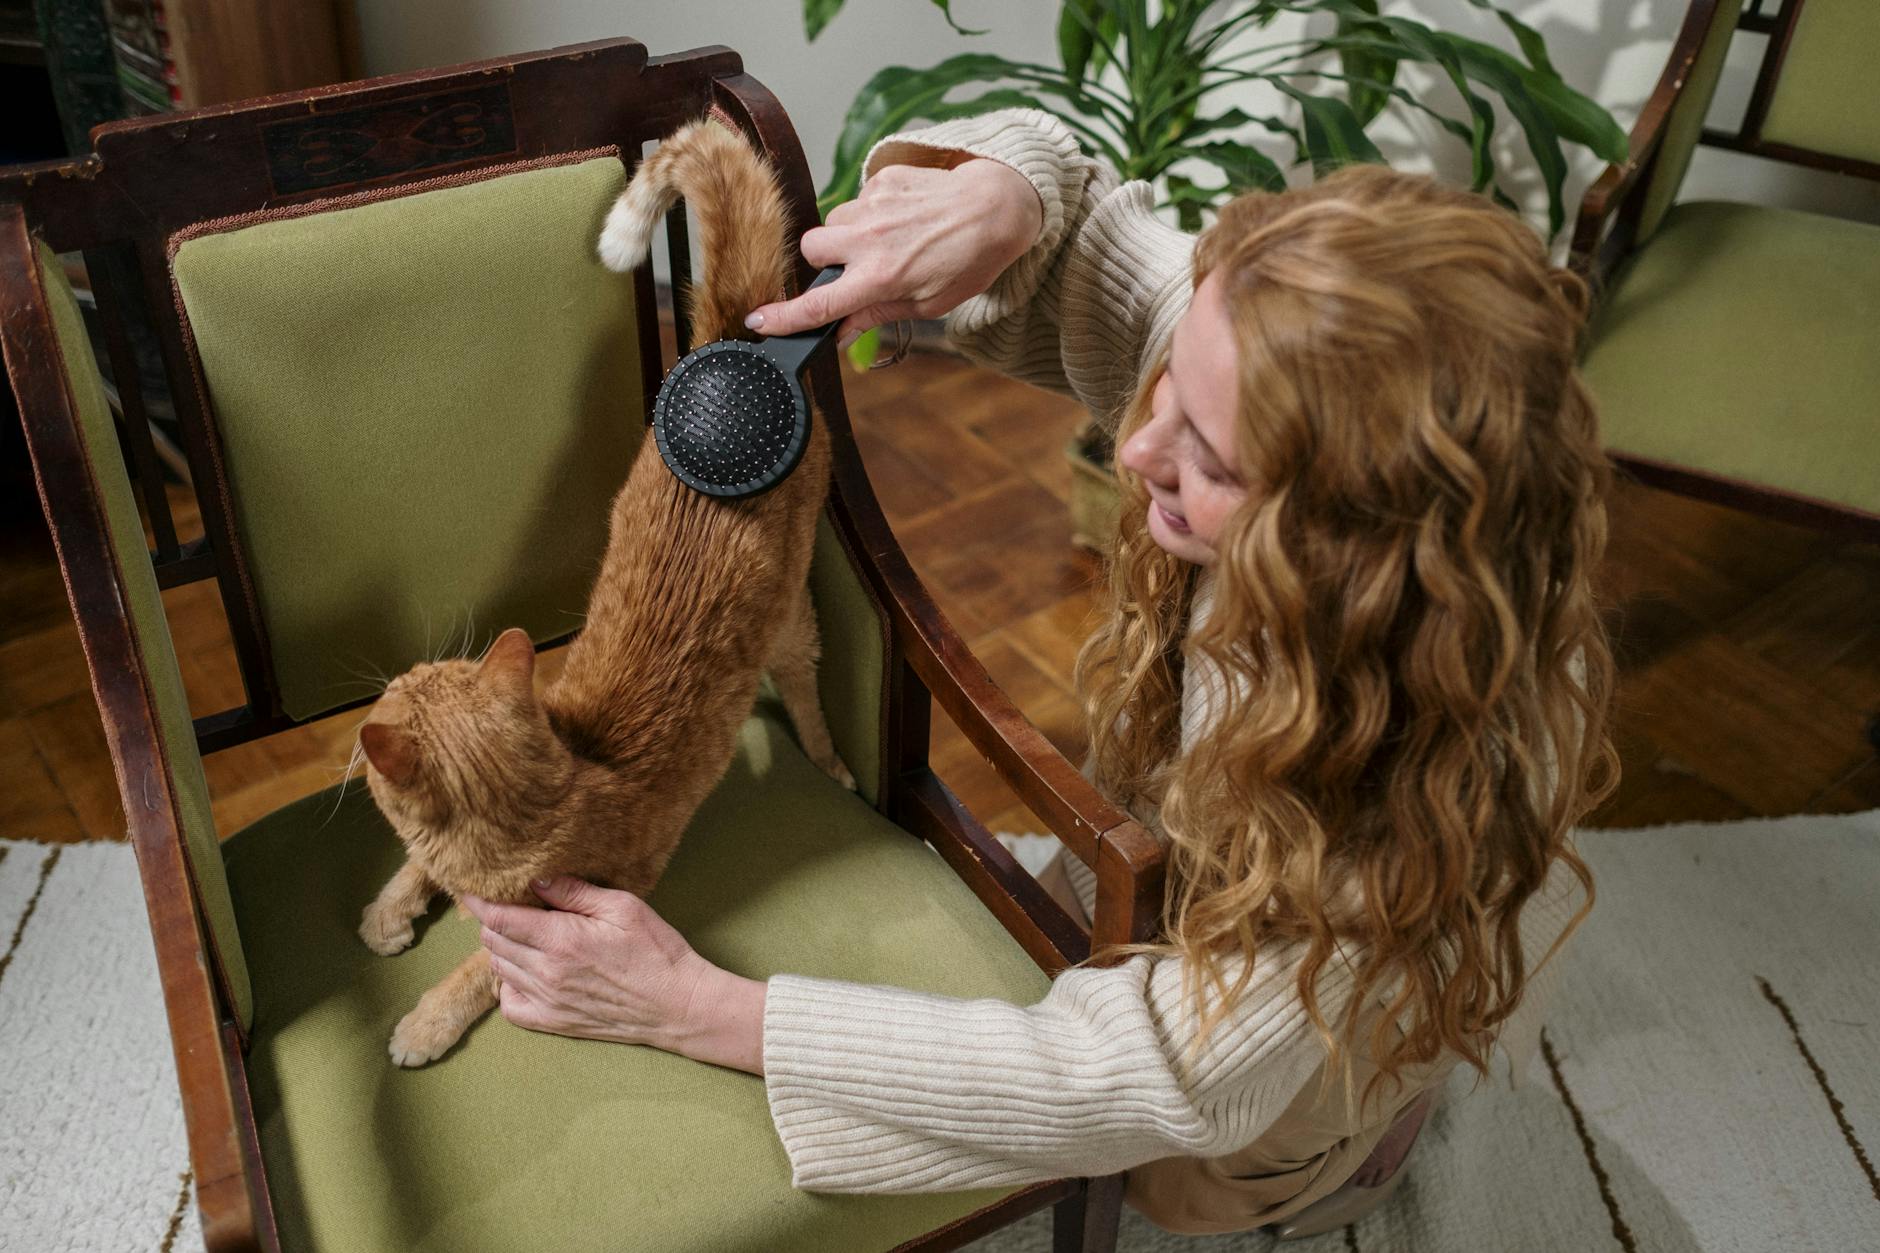
Here is the key thing to understand before you touch the mat: brushing directly over a mat compresses it. The bristles push the knot tighter against the skin instead of loosening it. The correct approach when removing mats from dog fur without cutting is always to work from the tips of the hair outward first, then gradually move toward the skin. That one shift in direction changes everything.
What You Need to Remove Mats from Dog Fur Without Cutting
Get these ready before your dog is on the table. Stopping to search for tools mid-session loses your dog’s cooperation fast.
- Detangling or conditioning spray (dog-formulated) — lubricates the hair shaft so strands can separate rather than snap. Human conditioner has a different pH and often contains ingredients that are not appropriate for dogs. Apply generously and let it sit for a minute or two before working the mat.
- A dematting comb or mat splitter — has widely spaced teeth, sometimes with a blade edge, designed to divide a mat into smaller sections. This is your first tool, not a slicker brush. A slicker brush dragged over an intact mat makes things worse.
- A slicker brush — once sections are loosened, a slicker brush smooths them out. A good mid-range option like the Hertzko Self-Cleaning Slicker Brush handles most coat types well. Pin brushes are not the right tool here — they pass over the surface without getting into a mat.
- A wide-tooth comb — your pass test at the end. If this moves through the area without catching, the mat is gone.
- Treats — genuinely useful. A cooperative dog is easier to work on than a stressed one, and keeping the session positive means your dog will tolerate grooming again next time.
Optional but useful: a dog dryer on low cool helps separate hair as you work, especially on long or curly coats.
How to Remove Mats from Dog Fur Without Cutting — Step by Step
Step 1: Position your dog on a non-slip surface
A dog who is sliding around or constantly shifting is harder to work on. A rubber mat, a towel on a countertop (for small dogs), or a grooming table all work. The goal is a stable, calm setup before you start.
Step 2: Identify the mat’s edges before touching it
Run your fingers around the outside of the mat to find where it ends and loose hair begins. This tells you your starting point. It also tells you whether the mat is sitting close to the skin — important for step 3.
Step 3: Place one hand flat against the skin beneath the mat
This is the most important step in the entire process. Anchoring the skin prevents the mat from pulling at it as you work. Without this, every stroke tugs the skin, which causes pain, and a dog in pain will not stay still. Keep this hand in place throughout.
Step 4: Apply detangling spray directly to the mat
Saturate it. Dry mats are tight mats. Let the spray sit for 60–90 seconds before you start working. That soak time is not optional — it gives you working room and is a core part of how to detangle matted dog hair effectively.
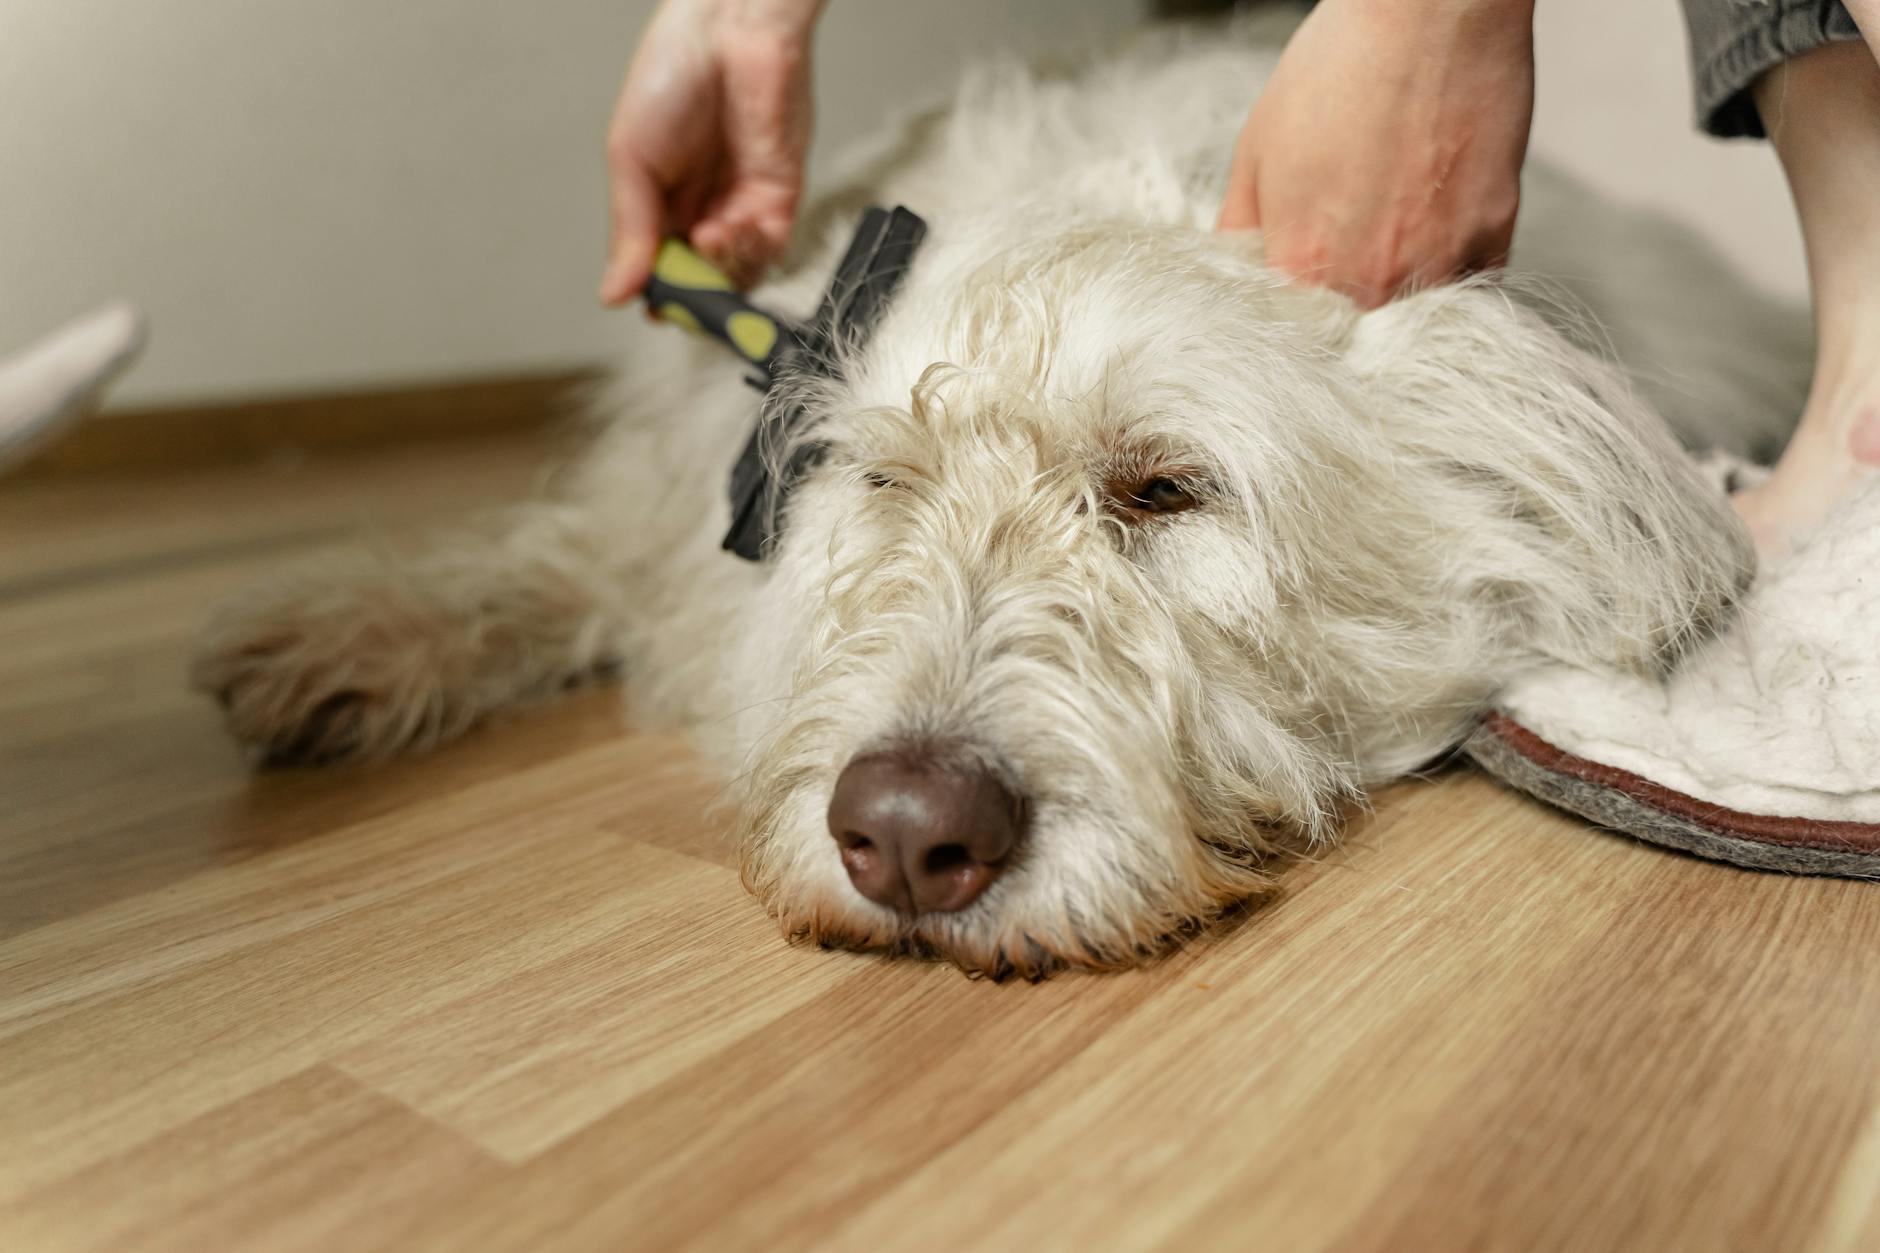
Step 5: Use a dematting comb to divide the mat into sections
Start at the outer edge of the mat — the tips of the hair farthest from the skin. Work in short, gentle strokes away from the body. Never drag toward the skin. The goal here is to split the mat into two or three smaller clusters. Do not try to brush anything through yet.
Step 6: Work each section from tips to roots
Take one small section and use the dematting comb or your fingers to tease apart the hair from the end inward. Short strokes. Genuine patience. You cannot rush this step without causing pain or snapping hair. Work the tip end loose, then gradually move closer to the root. This tip-to-root technique is what makes it possible to remove dog fur mats without cutting in most cases.
Step 7: Switch to a slicker brush once sections feel loose
When a section moves freely and no longer clumps together, a slicker brush can smooth it out properly. Still work tip-to-root. This is where a quality slicker brush earns its place — it will finish the job without re-tangling what you just loosened.
Step 8: Finish with a wide-tooth comb as your pass test
Run the comb through the entire area. If it moves through without resistance, the mat is clear. If it catches anywhere, there is still a tangle — go back to step 6 on that spot.
Step 9: Reward and stop if your dog signals stress
Watch for lip licking, yawning, turning away, or a sudden increase in tension. These are early stress signals. If you see them, stop — reward your dog and end the session. You can come back to a stubborn mat in a second session. Pushing through when a dog is stressed leads to a dog that panics at grooming next time.
Which Mats Can Be Removed at Home — and Which Ones Can’t
Being honest about this protects both you and your dog.
Removable at home:
- Single mats smaller than a golf ball
- Mats with visible loose hair at the edges
- Mats not pressed flat against the skin
- Dogs that will cooperate for 10–15 minutes
Not suitable for home dematting:
- Multiple mats joined together or covering a large area
- Mats that feel like a solid sheet — no individual strands visible at the edges
- Mats near the eyes, anus, or genitals
- Skin under the mat that looks red, broken, or has any discharge (matted skin can hide wounds, hot spots, and infection)
- Dogs that become distressed immediately
Quick rule of thumb: If you cannot feel any individual hair strands at the mat’s edge, professional help or careful clipping is the safer call — not extended home dematting. Trying to remove matted dog fur without shaving when the coat is fully pelted can cause real harm.
How to Prevent Mats from Re-Forming After You’ve Cleared Them
You have done the work — here is how to avoid repeating it in two weeks.
- Brush before bathing, not after. Wet mats compress and tighten dramatically. A mat that was manageable before a bath can become much worse after one.
- Establish a brushing routine suited to your coat type. Long or curly coats need brushing every two to three days minimum. Double coats need weekly brushing with more frequent sessions during shedding season.
- Pay extra attention to friction zones. Behind the ears, collar line, armpits, and groin mat first — spend extra seconds here every session. When brushing behind the ears, be aware that this area is also prone to moisture buildup; using a routine ear cleaner for dogs as part of your grooming routine can help manage that moisture, and check out common dog ear cleaning mistakes that can make the surrounding skin more vulnerable.
- Use a detangling spray during routine brushing. A light application reduces friction and keeps the coat more manageable between sessions — a simple habit that genuinely makes a difference.
- Dry the coat thoroughly after bathing. Moisture sitting against the coat encourages tangling. A dog dryer on a low-heat or cool setting speeds drying and helps separate the coat.
- Support coat health from the inside. Dry or brittle coats are more prone to tangling. If your dog’s coat lacks moisture and shine, a skin and coat supplement with EPA/DHA omega-3s can be a useful supportive addition alongside regular grooming — worth discussing with your vet if dry skin is an ongoing issue.
When Cutting or Professional Grooming Is the Right Call
Choosing professional grooming or scissors is not a failure. It is good judgment.
- If a mat is too close to the skin to safely work without risk of cutting skin, clippers or scissors are the safer option.
- If your dog is in pain, highly stressed, or the coat is severely matted across the body, a professional groomer will get the dog comfortable faster and more safely than prolonged home attempts.
- If the skin under the mat looks red, raw, or has any discharge, go to a vet groomer rather than a standard groomer. Matted skin can hide wounds, hot spots, and early infections that need assessment before grooming.
Cutting a mat out is the right decision when the alternative is causing real pain. Period.
What Success Looks Like
The mat is gone. The coat lies flat. Your wide-tooth comb passes through the area without resistance. Your dog is calm — or at least not worse than when you started. If the area feels slightly warm after dematting, that is normal friction from the work and settles quickly.
Going forward, a regular brushing routine focused on the friction zones will keep mats from coming back. Once you have successfully managed to remove mats from dog fur without cutting, you will know exactly how it should feel at each stage — and you will catch mats earlier, before they become a bigger job.
Frequently Asked Questions
Can I use coconut oil or olive oil to loosen dog mats? Both can help lubricate a mat in a pinch, but neither is ideal. They leave an oily residue that attracts dirt and requires a thorough bath to remove — which can then re-tighten any mats you haven’t fully cleared. A dog-formulated detangling spray is a cleaner, more effective option for regular dematting.
How long should I spend on one mat before stopping? Ten to fifteen minutes per session is a reasonable limit. If the mat is not responding after that time, stop, reward your dog, and return later. Multiple short sessions are kinder and more effective than one prolonged struggle.
Is it okay to cut a mat out if I can’t remove it any other way? Yes. Cutting is the right call when a mat is too close to the skin to safely work through, when your dog is distressed, or when the mat simply won’t loosen. Removing matted dog fur without cutting is the goal when it is safe and practical — but it is not always the right choice, and cutting is not a failure.
Why does my dog always mat in the same spots? High-friction zones — behind the ears, armpits, groin, collar line — see the most movement and moisture, which is why mats form there repeatedly. Targeting these areas first during every brushing session, and using a detangling spray regularly, is the most effective way to break the cycle.
What is the difference between a dematting comb and a regular brush? A dematting comb has widely spaced teeth — sometimes with a slightly sharpened edge — designed to divide a mat into smaller sections rather than brush over the surface. A regular slicker or pin brush is not designed to penetrate a mat and can compress it further if used too early in the process. Use the dematting comb first, then switch to a slicker brush once sections are loose.
Grooming, Care & Gear